2. Loading Kali Linux from the Official VirtualBox Image
This page is part of a broader series on creating a cybersecurity lab with VirtualBox.
Click here to return to the main project description page.
In this module, we will walk though downloading, installing and configuring a kali linux virtual machine on VirtualBox
Download pfSense and Kali
We will use the official Kali website : https://www.kali.org/get-kali/#kali-platforms
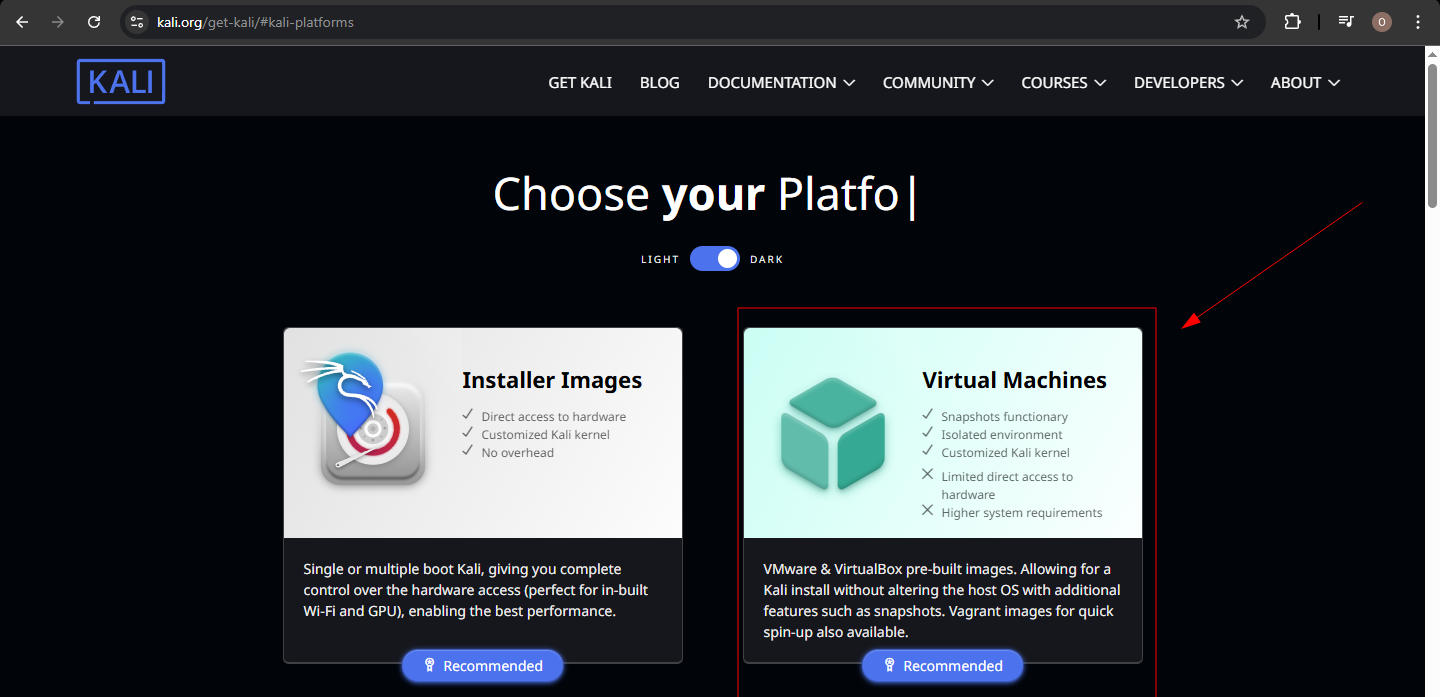
We will choose Virtual Machines, for ease of install
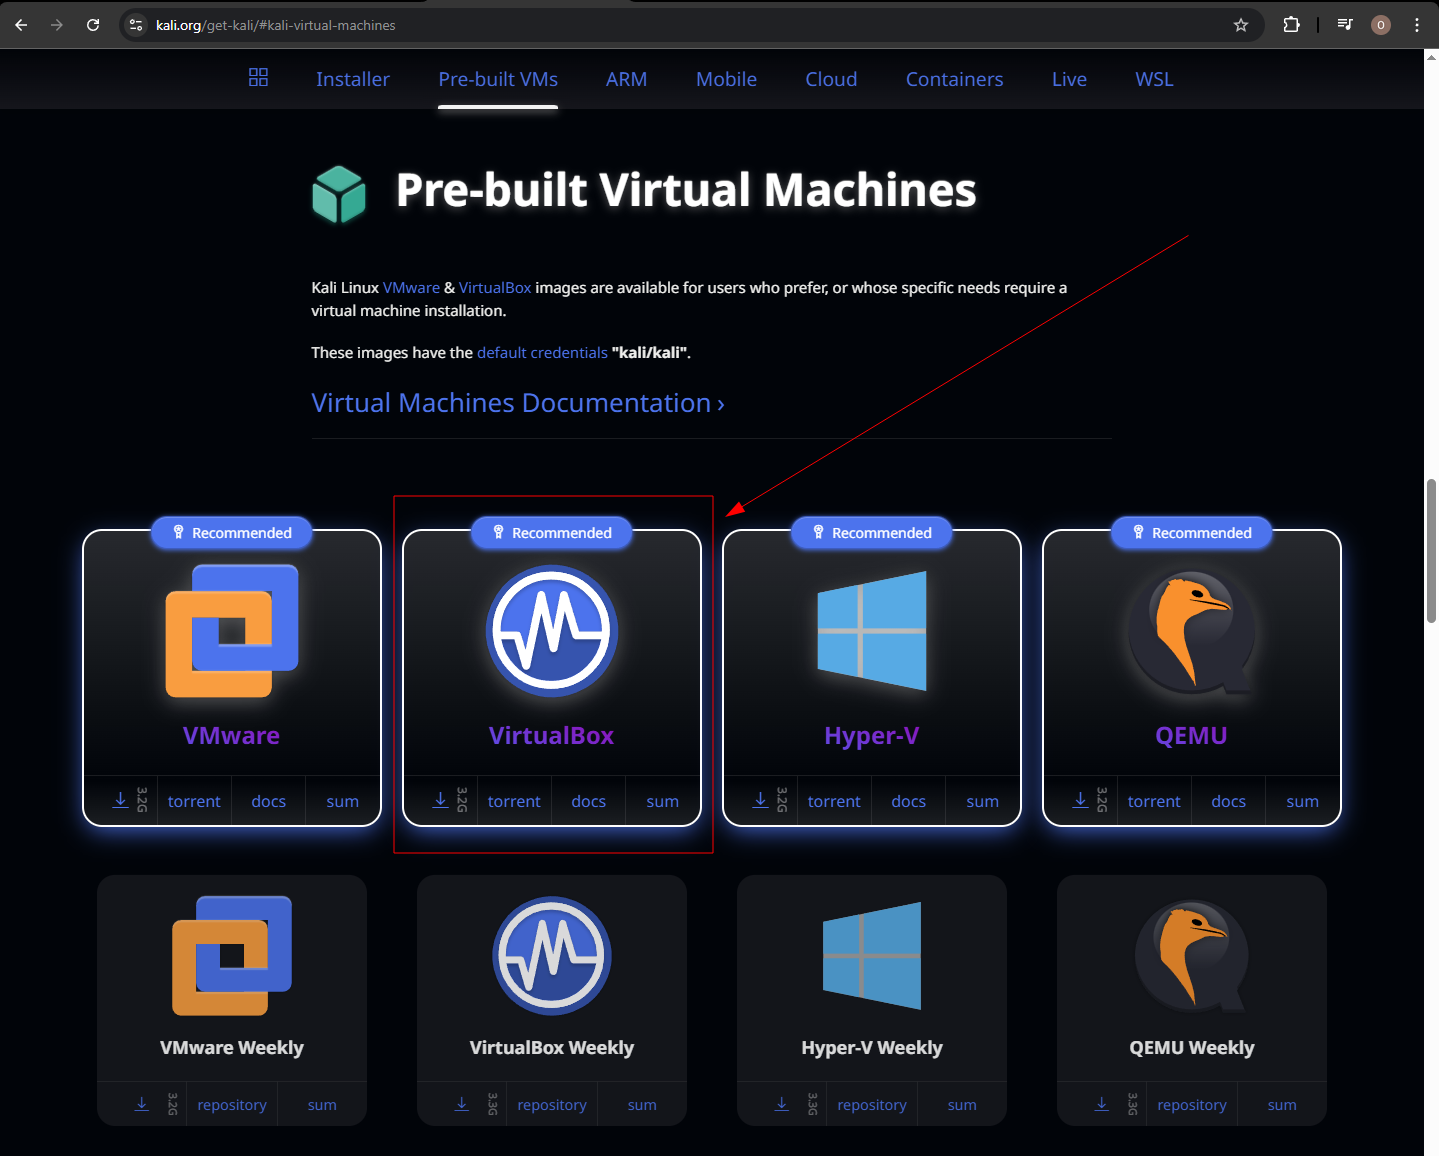
Choose the one for VirtualBox
Import and Prepare the VM

Extract zip file and rename the folder

Click on the "Add" button on VirtualBox

Find and select the .vbox file from the extracted folder
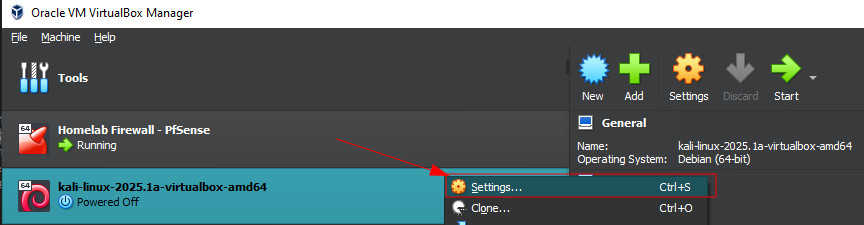
After Adding the VM, go to the VM's settings
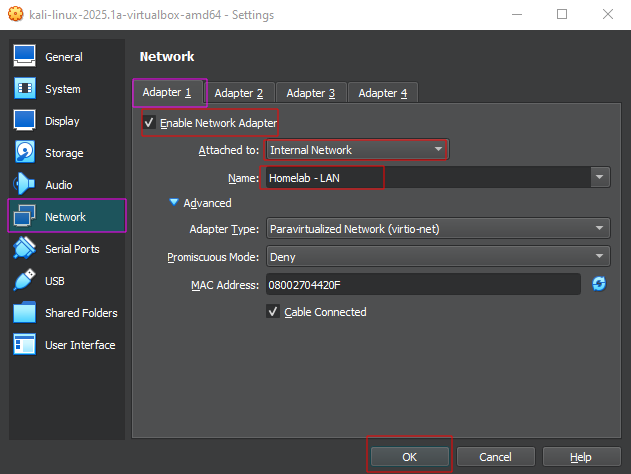
Change the network settings in order to connect to PfSense
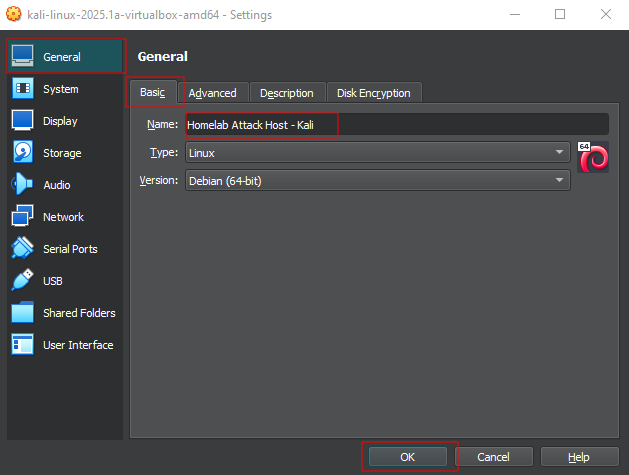
You can also change the name for better organization
Add RAM and CPUs if you can spare the ressources for better performance
Start the VM
The default ceredentials for the Kali linux
- Username:
kali - Password:
kali
Since this is a homelab, it's acceptable to leave the default password kali:kali, but it's highly recommended to change it promptly. You can use the passwd command with sudo privileges to do so.
We can check in the terminal to ensure we’re on the LAN. We got the IP address 10.0.0.11 from the DHCP server on pfSense.
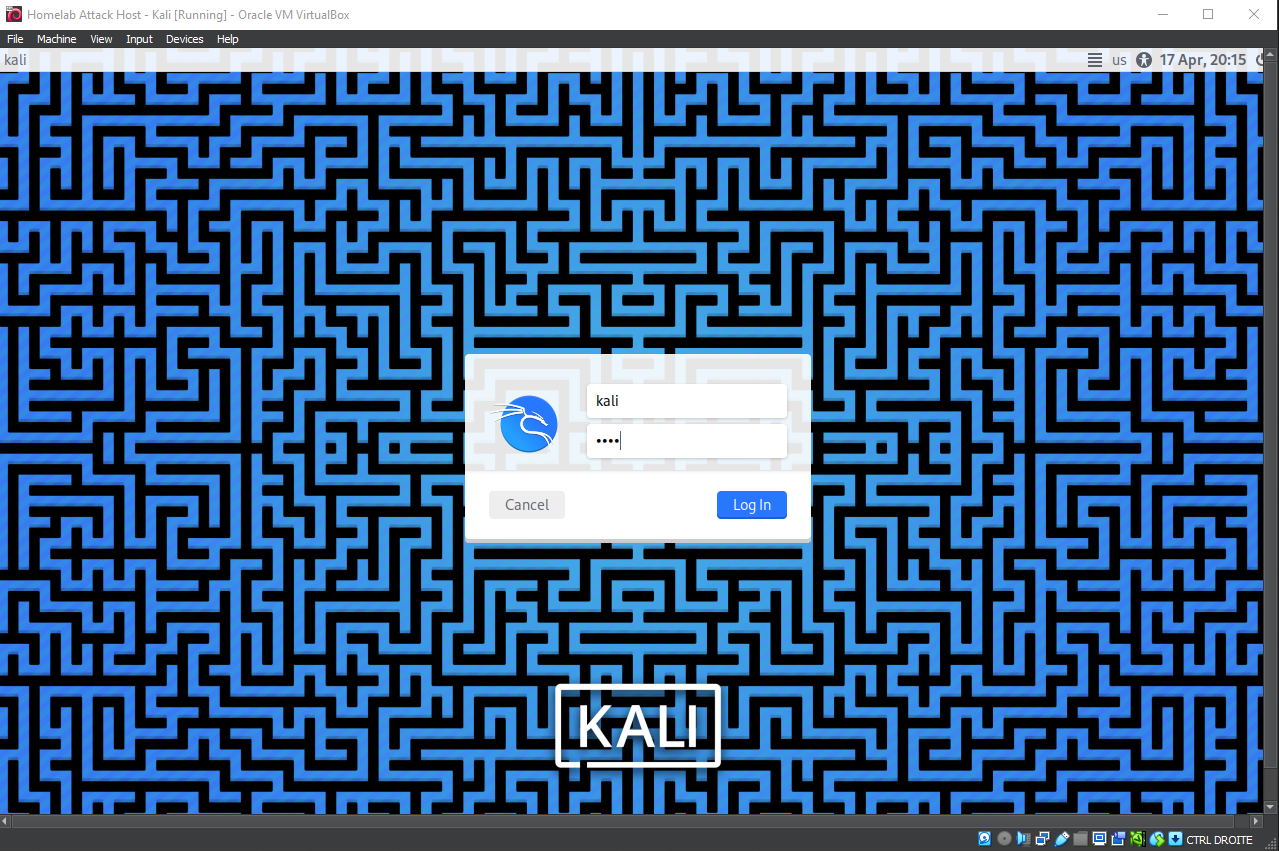
Kali Linux's login screen
We can proceed by checking if we are on the right network, by using the shell terminal
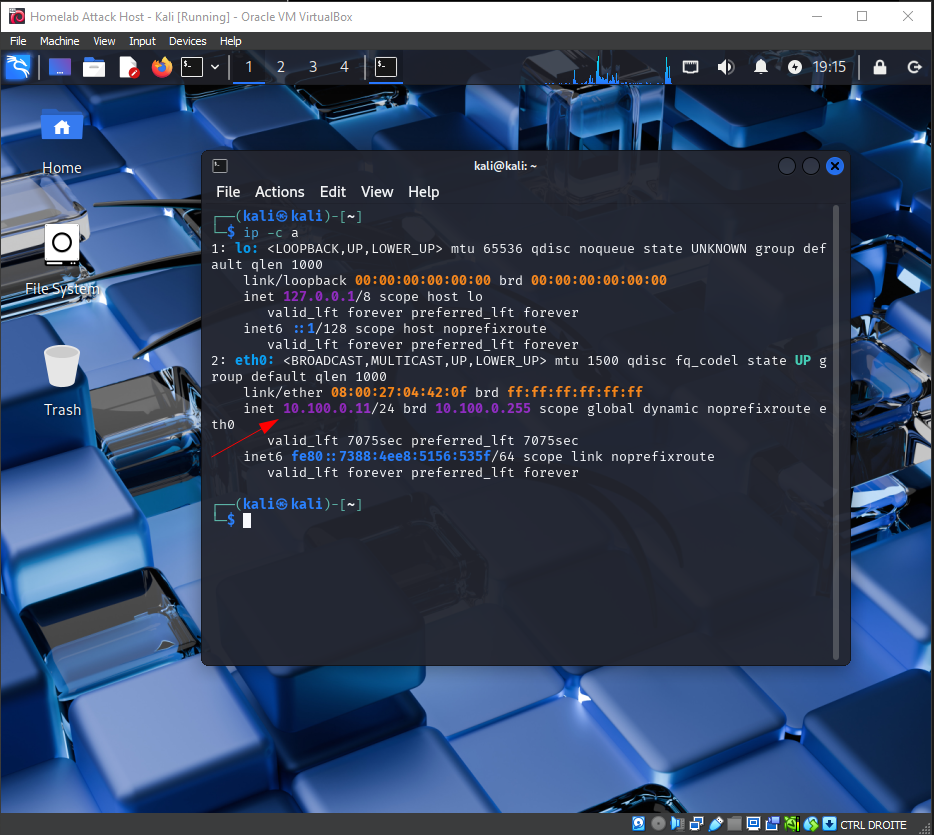
Checking the network configuration using ip -c a
We see that we have been atributed the IP 10.100.0.11 by the PfSense Router/Firewall because DHCP is configured on the LAN interface, and it's range starts at 10.100.0.11 and ends at 10.100.0.100
Kali Linux is now successfully installed and ready to serve as your attack and management host. We will later use it for scanning, exploiting, and administering our Firewall and security tools. Proceed to the next section if you want to deploy the full lab or add one of the environnements described here.
Congratulations !
You now have pfSense installed on a VirtualBox VM.
Proceed to the next section if you want to deploy the full lab or add one of the environnements described here.